 Coaching Centre
Lab equipment and scientific diagrams
The common pieces of lab equipment and what each is for, the difference between equipment and apparatus, and the rules for drawing neat 2D scientific diagrams of a set-up.
A chef wouldn't bake a cake in a frying pan, and a scientist doesn't measure 25 mL of acid with a beaker. Every piece of lab equipment is designed for a job, and using the wrong one is the quickest way to get a result that means nothing.
Equipment and apparatus
Equipment is any single item used in the lab: a beaker, a tripod, a thermometer. When you put pieces of equipment together to do an experiment, the whole set-up is called the apparatus. A Bunsen burner is equipment. A Bunsen burner under a tripod and gauze mat with a beaker of water on top is apparatus.
The equipment you will use most
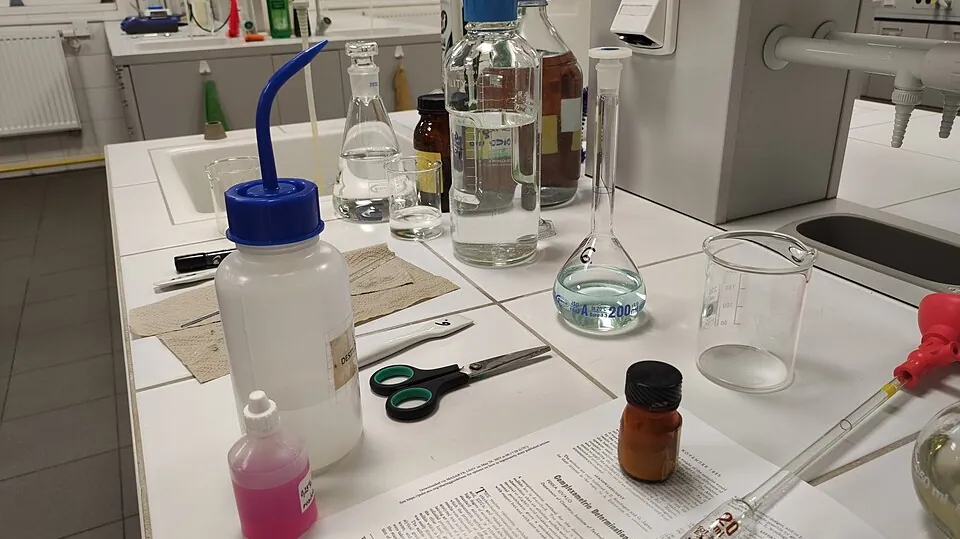
Your school's lab may have slightly different shapes and sizes, but these are the pieces you will meet in almost every practical from now to Year 12. The 2D drawings next to them are how scientists draw each one.
| Equipment | Job | Watch out |
|---|---|---|
| Beaker | Holding, mixing and heating liquids | The markings are rough guides only. Don't use them to measure. |
| Conical flask | Mixing and swirling liquids without spilling | Its narrow neck also slows evaporation. |
| Measuring cylinder | Measuring the volume of a liquid accurately | Read the bottom of the curved surface at eye level (see 1G). Never heat it. |
| Test tube | Small reactions and heating small amounts | Point the open end away from everyone when heating. |
| Test tube rack | Holding test tubes upright | |
| Test tube holder | Holding a test tube while you heat it | Hold the tube near the top, at an angle. |
| Bunsen burner | Heating | See 1D before you light one. |
| Tripod stand | Holding a beaker or dish above a Bunsen burner | Stays hot for a long time after heating. |
| Gauze mat | Spreading the heat evenly under a beaker | Sits on top of the tripod. |
| Heatproof mat | Protecting the bench under a Bunsen burner | |
| Retort stand, boss head and clamp | Holding equipment such as a flask or a burette in place | Put the heavy base on the same side as the clamp so it doesn't tip. |
| Evaporating dish | Heating a solution so the water evaporates and leaves the solid | |
| Watch glass | Holding small amounts of solid, or covering a beaker | |
| Filter funnel | Pouring into narrow containers, or filtering with filter paper | |
| Crucible tongs | Picking up hot crucibles and dishes | |
| Spatula | Scooping small amounts of solid chemicals | Never use your fingers. |
| Stirring rod | Stirring | Don't use a thermometer to stir: it breaks. |
| Thermometer | Measuring temperature | Hold it in the liquid, not touching the bottom of the beaker. |
| Electronic balance | Measuring mass | Press tare (zero) with the empty container on first. |
- Each job needs a particular set of equipment. Tap the pieces you need, then check.
- Notice which jobs need a measuring cylinder and which only need a beaker. What's the difference?
Drawing scientific diagrams
Imagine writing up every experiment with a full-colour painting of the equipment. It would take hours, and nobody could tell exactly how the pieces connect. Scientists use scientific diagrams instead: simple 2D outlines drawn side-on, as if you were looking at the apparatus from bench level. You don't need to be an artist, just neat.
- Use a sharp grey lead pencil and a ruler for straight lines.
- Draw in 2D, side-on. No 3D shading or perspective.
- Draw only outlines. No colouring in. Liquids are shown by a line at the surface (some people add light dashes).
- Leave containers open at the top unless they really have a lid or stopper.
- Label every piece with a straight ruled line that touches the item. Labels go to the side, not on top of the drawing, and lines never cross.
- Give the diagram a title, and make it big enough to see clearly, about 10 cm high.
A student's diagram of the heating apparatus has a 3D beaker with shading, labels written on the beaker itself, a freehand curved line to the tripod and no title. What should they change?
Test yourself
The best equipment for measuring exactly 35 mL of water is a
Measuring cylinders are made for accurate volumes. Beaker and flask markings are only approximate.
Which item spreads the heat from a Bunsen flame evenly under a beaker?
The wire gauze sits on the tripod and spreads the flame's heat across the beaker's base.
"Apparatus" means
Equipment is one item; apparatus is the whole set-up.
Which is a correct rule for scientific diagrams?
2D outlines in pencil, labels beside the drawing with ruled lines.
To pick up a hot evaporating dish you should use
Tongs grip hot dishes and crucibles safely. Test tube holders are for test tubes.
An evaporating dish is used to
For example, evaporating salt water to get salt crystals.
Label the apparatus for heating water.
Sort each piece of equipment by its main job.
List the equipment you would need to heat 100 mL of water to 60 °C, and explain the job of each piece.
Measuring cylinder: to measure 100 mL of water accurately. Beaker: to hold the water while it is heated. Bunsen burner: to heat it. Tripod: to hold the beaker above the flame. Gauze mat: on the tripod, to spread the heat evenly across the beaker. Heatproof mat: to protect the bench under the burner. Thermometer: to measure the temperature so I know when it reaches 60 °C.
Explain why scientists draw apparatus as 2D scientific diagrams rather than realistic pictures.
Scientific diagrams are quick and simple to draw, so you don't need to be an artist and you spend more time on the experiment. They also follow a standard style, so any scientist can see exactly which equipment was used and how it was set up, which lets them repeat the experiment.